by Sharon Wright
Cat Hammond, over at The Doll Affinity, wrote a really fantastic post in response to my article about 12 Tips To Being a Better Photo Blogger. In it, she talks about wanting to be more candid and pulling back the curtain a little to show some of the magic in the process of this hobby we love - photography. It really connected with me. I love watching behind the scenes videos and seeing other peoples' BTS photoshoots and whatnot - but I really haven't shared any of my own.
Since Cat sort of challenged others to do it, I thought I would kick it off and strip down to my bare bones. You'll see that I am not a perfect photographer, that most of the 'magic' actually happens in the editing room.
To start off with, I shoot on a Canon T3i. It's not a super fancy camera, more of an older (discontinued) lower end pro-sumer style DSLR. I have a few different lenses but my lens of choice is my nifty fifty, 50mm. I shoot in full manual mode and usually manual focus as well. I prefer to shoot in RAW as that gives me the greatest flexibility to fix all my mistakes ;) I work in Adobe products for post processing.
Now, I need to say this because it comes up all the time. It is not the camera that takes great pictures. Yes, it helps, but it is the skill and eye of the photographer and editor that makes it amazing. There are some pretty freaking jaw dropping images I've seen that were shot on a cellphone camera - so there are zero excuses. All the tools are available on the internet for you to learn any skill you want. That is how I taught myself.
For this challenge, I tried to select a few different things to give you just a simple quick peek at my before & afters.
Anyway - here goes...
Brazen Beauty Natalia Fatalé - one of my all time favorite Integrity Toys ladies. She is from the 2013 convention (my first, and favorite, convention of theirs)
Dress by Ursi Sarna
Underexposed. She was shot deep in the shadows and since I didn't want to drop my shutter speed lower (to avoid blurriness from camera shake) I chose to take the darker shot at a faster shutter speed to get a crisper shot. I knew, since I shoot in RAW, that I would have the ability to easily adjust the colors and contrast in post processing. I could have adjusted my ISO but I was, honestly, just being lazy. I fixed a few crazy hairs and added a bit more sun haze coming from the left side of the shot.
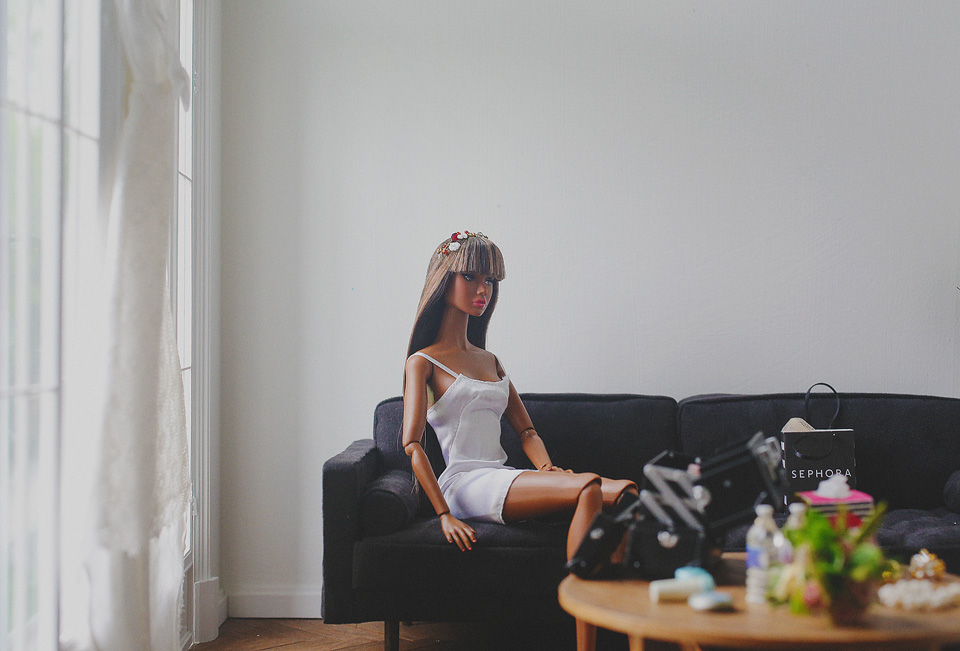
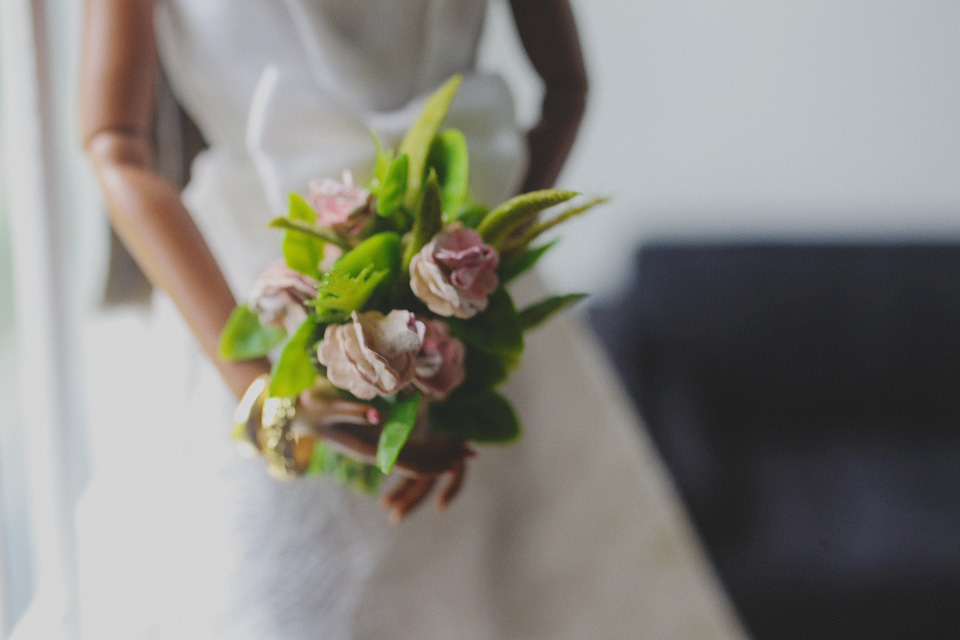
Intrigue Elise Jolie by Integrity Toys, from the 2014 convention
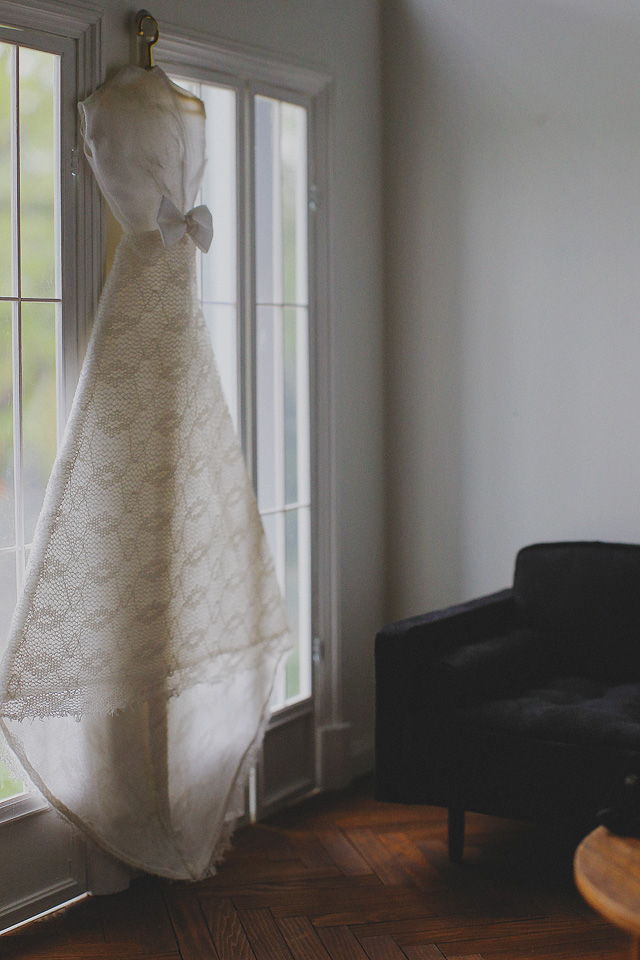
Dress by Ginny Liezert
Same shoot, same day. This time I overexposed. Not on purpose. I snap a few shots as I'm making my adjustments in the camera. Sometimes the first couple pics end up being good and I want to save them, Again, since I shoot in RAW, I was able to fully adjust and play with the lighting in post. You'll notice that I also fixed a couple stray hairs and the gap in the petals on the dress too.
This shoot is one I did for Mombie & Son (Bo Bergemann and her son). It was an entire series of about 40 amazing, cinematic style images promoting their zombie bjds they featured at the 2015 SDCC. (Seriously, it's pretty damned cool. You can check the shots out HERE)
As you can tell I photoshopped some lights onto the vehicle to add a bit more realism to the 'moment' that was captured. I also adjusted the color levels to get a more creepy/greenish/horror feel to it and a bit more haze to give it a bit more 'tooth'. This was shot during the later half of golden hour and the effect of the sunlight in the hair and the movement in the dolls just really made these shots work so beautifully in creating that "movie moment" I was going for.
Without a doubt - one of the funnest and most creative shoots I've ever done!
Ginny, by Linda Macario. Coming very soon to JpopDolls
This one was really fun. Most people know me for being a mostly outdoor, natural light photographer. I don't do a whole lot of indoor diorama shoots - not that I don't enjoy them - I'm just not great at lighting them or working with flash effectively - but I'm trying to learn.
I bought this fantastic bed set on Etsy from One Sixth Avenue, originally to use for my Naked Trooper series (absolutely NSFW). However, when I put glasses on Ginny she instantly came to life with this fantastic geekness to her and I knew she would have a bed set like that - and, like all teens, she'd have a really messy room.
I got two really awesome paper lanterns (that actually lit up) in my 70's themed One Sixth Box a couple months ago and I had a desk lamp from the Dollar Tree that lit up. I used a few LED lamps placed just under the "TV" to give the effect that she was watching something and then placed a small lamp just to the right of the room on the other side of a velum paper window to give the illusion of maybe a street lamp or house light at night.
As you can tell, I did not adjust my white balance well so the original shot is very yellowish. No problem, I can easily adjust the colors when I bring the image in. I enhanced the lights to give them a bit more glow, adjusted shadows and selectively increased the exposure in some areas.
There are a lot of things I wish I still knew how to do better, but over all I'm pleased with how it turned out.
I never really put a lot of thought into showing my process, but after reading Cat's post I realized that I too love seeing the nakedness of other peoples work - so why not bare my own.
I will try to do posts showing my process more. And, if I don't - remind me and I'll make sure to get it done ;)
Oh - and for real - check out The Doll Affinity. Her 1:6 mini-me Cat is the best ever, and she does a dynamic job putting together some truly creative photo stories.
We'd love to see your shots as well. Are you daring enough to get naked in front of your peers? Post them on our Facebook page under this link.
To see more of my crap - a.k.a. - the stuff I do when I'm not working on STAND...
Facebook
Instagram
Flickr
All the NSFW stuff ;)


