STAND magazine

Getting Naked - baring it all behind the scenes

by Sharon Wright

Cat Hammond, over at The Doll Affinity, wrote a really fantastic post in response to my article about 12 Tips To Being a Better Photo Blogger.  In it, she talks about wanting to be more candid and pulling back the curtain a little to show some of the magic in the process of this hobby we love - photography. It really connected with me. I love watching behind the scenes videos and seeing other peoples' BTS photoshoots and whatnot - but I really haven't shared any of my own.

Since Cat sort of challenged others to do it, I thought I would kick it off and strip down to my bare bones. You'll see that I am not a perfect photographer, that most of the 'magic' actually happens in the editing room. 

To start off with, I shoot on a Canon T3i. It's not a super fancy camera, more of an older (discontinued) lower end pro-sumer style DSLR. I have a few different lenses but my lens of choice is my nifty fifty, 50mm. I shoot in full manual mode and usually manual focus as well. I prefer to shoot in RAW as that gives me the greatest flexibility to fix all my mistakes ;) I work in Adobe products for post processing. 

Now, I need to say this because it comes up all the time. It is not the camera that takes great pictures. Yes, it helps, but it is the skill and eye of the photographer and editor that makes it amazing. There are some pretty freaking jaw dropping images I've seen that were shot on a cellphone camera - so there are zero excuses. All the tools are available on the internet for you to learn any skill you want. That is how I taught myself. 

For this challenge, I tried to select a few different things to give you just a simple quick peek at my before & afters.  

Anyway - here goes... 

Brazen Beauty Natalia Fatalé - one of my all time favorite Integrity Toys ladies. She is from the 2013 convention (my first, and favorite, convention of theirs)
Dress by Ursi Sarna

Underexposed. She was shot deep in the shadows and since I didn't want to drop my shutter speed lower (to avoid blurriness from camera shake) I chose to take the darker shot at a faster shutter speed to get a crisper shot.  I knew, since I shoot in RAW, that I would have the ability to easily adjust the colors and contrast in post processing. I could have adjusted my ISO but I was, honestly, just being lazy. I fixed a few crazy hairs and added a bit more sun haze coming from the left side of the shot. 

Intrigue Elise Jolie by Integrity Toys, from the 2014 convention
Dress by Ginny Liezert

Same shoot, same day. This time I overexposed. Not on purpose. I snap a few shots as I'm making my adjustments in the camera. Sometimes the first couple pics end up being good and I want to save them, Again, since I shoot in RAW, I was able to fully adjust and play with the lighting in post. You'll notice that I also fixed a couple stray hairs and the gap in the petals on the dress too.

This shoot is one I did for Mombie & Son (Bo Bergemann and her son). It was an entire series of about 40 amazing, cinematic style images promoting their zombie bjds they featured at the 2015 SDCC. (Seriously, it's pretty damned cool. You can check the shots out HERE)

As you can tell I photoshopped some lights onto the vehicle to add a bit more realism to the 'moment' that was captured. I also adjusted the color levels to get a more creepy/greenish/horror feel to it and a bit more haze to give it a bit more 'tooth'. This was shot during the later half of golden hour and the effect of the sunlight in the hair and the movement in the dolls just really made these shots work so beautifully in creating that "movie moment" I was going for.
Without a doubt - one of the funnest and most creative shoots I've ever done!

Ginny, by Linda Macario. Coming very soon to JpopDolls

This one was really fun. Most people know me for being a mostly outdoor, natural light photographer. I don't do a whole lot of indoor diorama shoots - not that I don't enjoy them - I'm just not great at lighting them or working with flash effectively - but I'm trying to learn.  
I bought this fantastic bed set on Etsy from One Sixth Avenue, originally to use for my Naked Trooper series (absolutely NSFW). However, when I put glasses on Ginny she instantly came to life with this fantastic geekness to her and I knew she would have a bed set like that - and, like all teens, she'd have a really messy room.  
I got two really awesome paper lanterns (that actually lit up) in my 70's themed One Sixth Box a couple months ago and I had a desk lamp from the Dollar Tree that lit up. I used a few LED lamps placed just under the "TV" to give the effect that she was watching something and then placed a small lamp just to the right of the room on the other side of a velum paper window to give the illusion of maybe a street lamp or house light at night.
As you can tell, I did not adjust my white balance well so the original shot is very yellowish. No problem, I can easily adjust the colors when I bring the image in. I enhanced the lights to give them a bit more glow, adjusted shadows and selectively increased the exposure in some areas.
There are a lot of things I wish I still knew how to do better, but over all I'm pleased with how it turned out.

I never really put a lot of thought into showing my process, but after reading Cat's post I realized that I too love seeing the nakedness of other peoples work - so why not bare my own.

I will try to do posts showing my process more. And, if I don't - remind me and I'll make sure to get it done ;)

Oh - and for real - check out The Doll Affinity. Her 1:6 mini-me Cat is the best ever, and she does a dynamic job putting together some truly creative photo stories. 

We'd love to see your shots as well. Are you daring enough to get naked in front of your peers? Post them on our Facebook page under this link. 

To see more of my crap - a.k.a. - the stuff I do when I'm not working on STAND...
Facebook
Instagram
Flickr
All the NSFW stuff ;) 

12 Tips to Being a Better Photo Blogger

12 Tips to Being a Better Photo Blogger

Photo blogger and STAND editor-in-chief, Sharon Wright, lines out 12 keys to success 

Read More

When the standard just doesn't fit - you break it. Pasha Setrova is changing the jointing game

Pasha Setrova is a Russian born artist, currently living in New York, who's work has been seen on MTV, Bazaar, Cosmopolitan, Tatler, Fashion Collection, Time Out, Grazia, InStyle, Hello!, Fashion Report, Fashion Collection, OK!, Moscow Where, L’Etoile, Profashion, L’Officiel, People, Russian Chicago, WTF?, Snob, Tape, and many others.

Her sculptures are amazingly full of wonderment. I am a tremendous fan of her art! Trust me, just take a look at her site and see it all - just wow.

Westwood - Choose Well

Saintly Sinners

Lollipop Art

Dirty Whisper

So, when I see that she is creating a doll - well - STOP EVERYTHING AND LOOK!  

I'm not the traditional collector, dolls are mostly the muses for my photography, so obviously I am a big lover of all things jointed, the more jointed the better as it means more natural posing abilities. 

As I was falling down the rabbit hole online one night, I saw it. The first thing I noticed was the shoulders. I literally think my jaw dropped. 

Now, I'll admit my knowledge of bjds is fairly small compared to the totality of the world out there. There are a gazillion artists creating a wide array of styles but I, personally, have yet to see one with jointed shoulders. 

I had to talk to her and find out more! 

S: I had to reach out to you and find out more about this doll you are creating. Tell me more. Is this your first doll? 

P: I had it in my head to make a ball jointed doll for a long time already but from the beginning I wanted her to be unique - different from all others and very articulated.
About a year ago I finally decided to start my long awaited project and prepared for a lengthy process. I've been a figurative sculpture for some time now, but I hadn't had any experience with ball joint dolls before. To be honest, I hadn't even held one before! But since I wanted to make her different I tried to think about my lack of experience as an advantage. Things standardly seen in the industry like immobile set shoulders and square elbows/knees were not engrained in my mind.
And so I built her from the joints up – in particular the shoulder joints. As a former model I know most poses, if they are not static, involve the shoulders and I knew that if I could just create shoulder joints that could properly mirror those motions, my doll would already be unique. Because as of yet, I have not seen any other ball jointed doll with naturally articulating shoulders - that not only move up, but also forward. While it may seem very simple but to come up with these simple looking shoulders, I went through 5 drastically different prototypes. And when I finally did find the shape I was looking for, it was just the beginning of a dozen more prints with a dozen more adjustments.
I am also proud of the knees and elbows. Most bjd dolls have these square knees and elbows when fully bent . I strove to keep mine natural looking not only when they were straightened but also when bent. I worked everyday for the past year and eventually I think I went through about 57 different bodies. Maybe more.
S: I believe it. I am just in love with her already! So, what are the next steps for you and your doll?
P: I am finally so close to finishing her. A couple of last minute adjustments left before I will send her off to a mold maker to be casted and then she will debut on a moderately exclusive scale. So here I am and here's my new PashaPasha doll. She's not a toy and yet she is a toy. You can play with her, change her wigs, her eyes, her clothes. You can pose her and just admire her. She can make the most perfect poses. She is perfect to me.

To connect with Pasha
Facebook
Instagram
Website

EXCLUSIVE Tutorial by UNNIEdolls

UNNIEdolls gives us the first look at her newest tutorial. An adorable off shoulder blouse with easy to follow directions. ENJOY!

I created this pattern maybe a year ago. Many of you have been interested how I make the off shoulder blouses for my dolls. So, here is a tutorial, where I show you the whole process. If you make a blouse by using my pattern, please share with me on facebook, instagram, flickr, deviantart by using this hashtag #sewingwithunnie

HUNGARIAN SUBTITLE is available!

if you have any questions, please ask!:)

♥ Webpage/blog/shop: http://unniedolls.com
♥ Etsy Shop: http://unniedolls.etsy.com

My social sites:
♥ Instagram: https://www.instagram.com/unniedolls
♥ Google+: https://plus.google.com/+unniedolls1
♥ VK: http://vk.com/unniedolls

♥ Facebook: http://www.facebook.com/UNNiEDOLLS
♥ Tumblr: http://unniedolls.tumblr.com
 

The Editors Shoot - Ginny by Linda Macario

Man, This is when I love my job the most, when I get a chance to play with something brand new! I adore my collection but the thrill of taking a new doll out of the box and discovering it's 'voice' is what drives my creative juices. And, when it's a doll that isn't quite available to the public yet - well it makes it just that much more special. 

Ginny, by Linda Macario, stands 17.7 inches and is coming very soon to Jpopdolls.net

I shot her in various wigs and styles but you can really tell when I fell in love with her. As soon as I popped that gorgeous shoulder length straight red on her it was instantaneous. She really sprang to life and I became quite inspired as her personality began to develop. She is adorable in frills and bows but, for me, I love her with a slightly geeky style.

Visit Jpopdolls.net to learn more about Ginny. (I should also mention that all the wigs are from Jpop too - they do some seriously fantastic wigs!!!) 

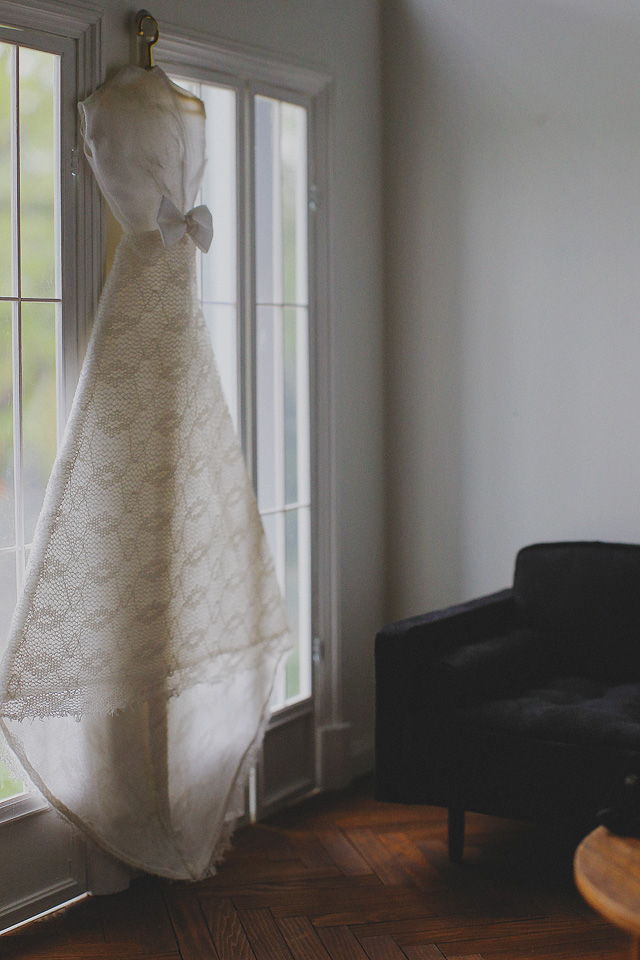
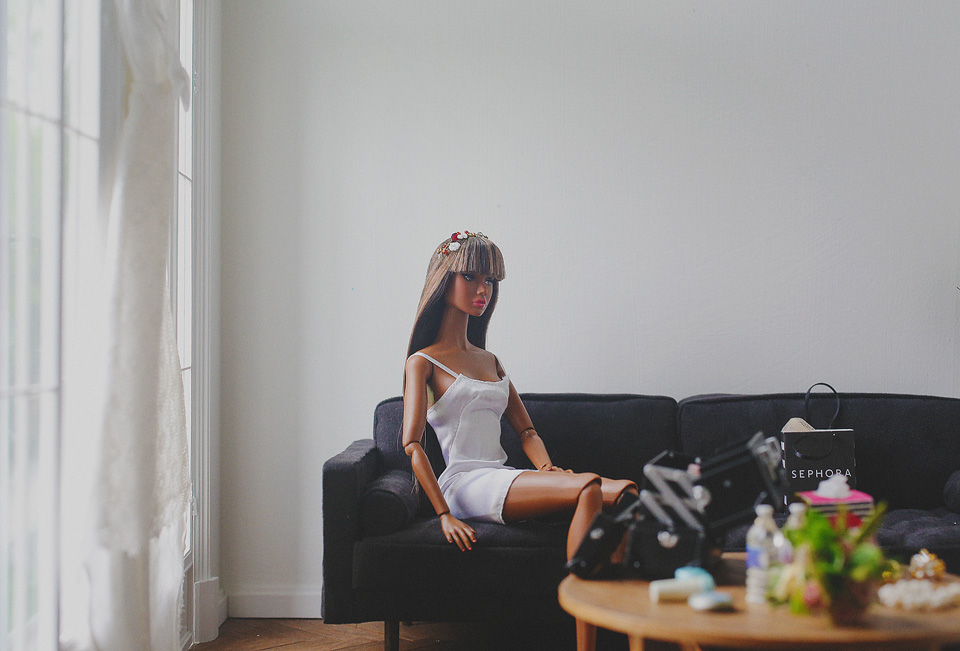
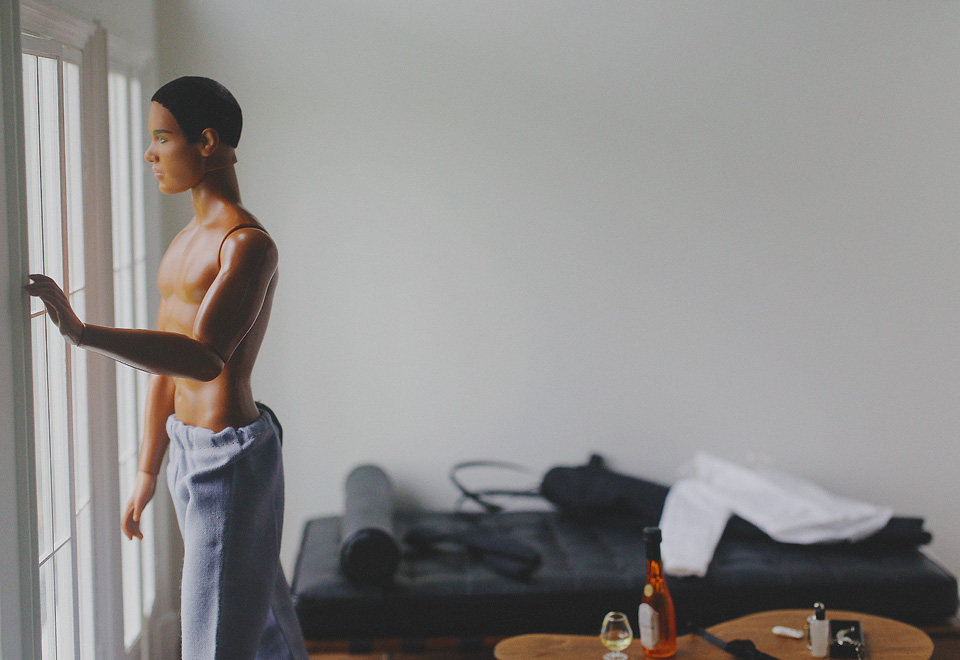
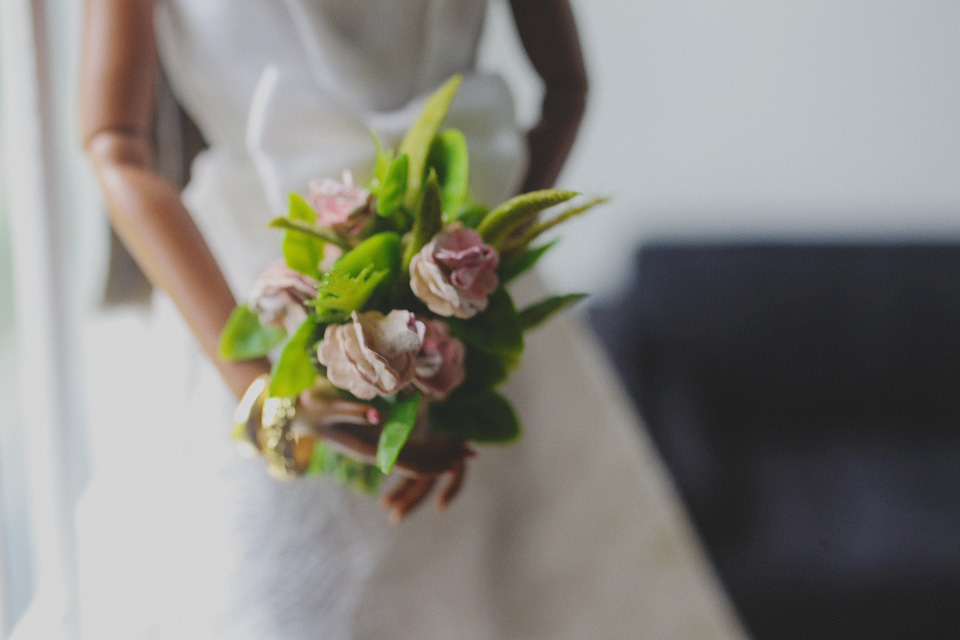
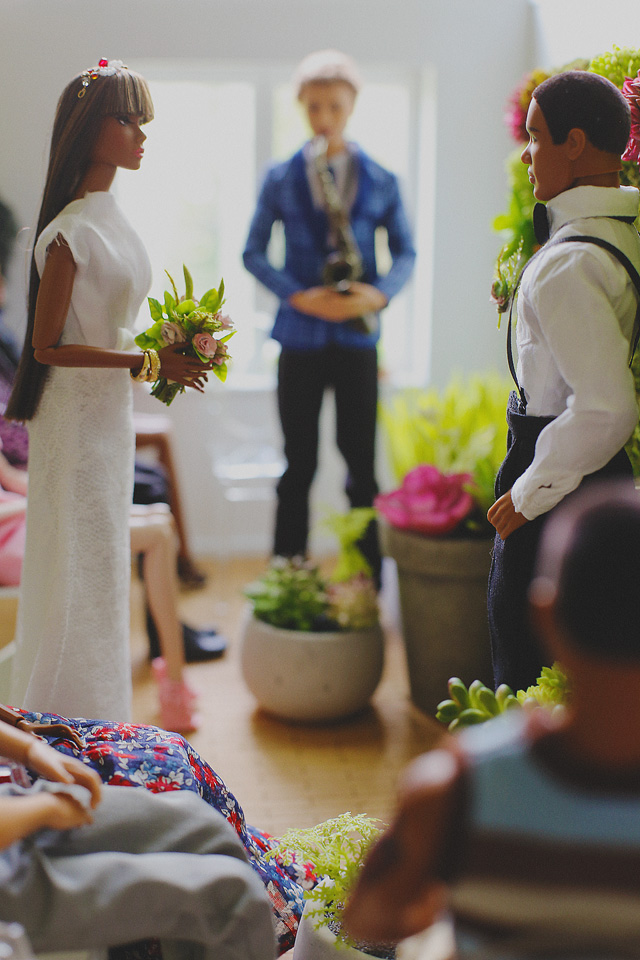
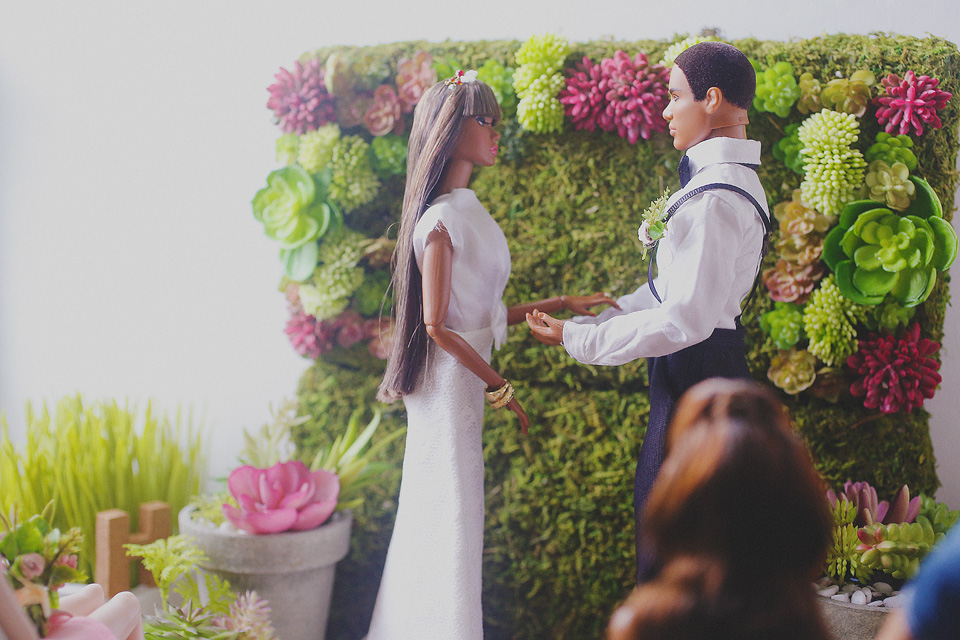
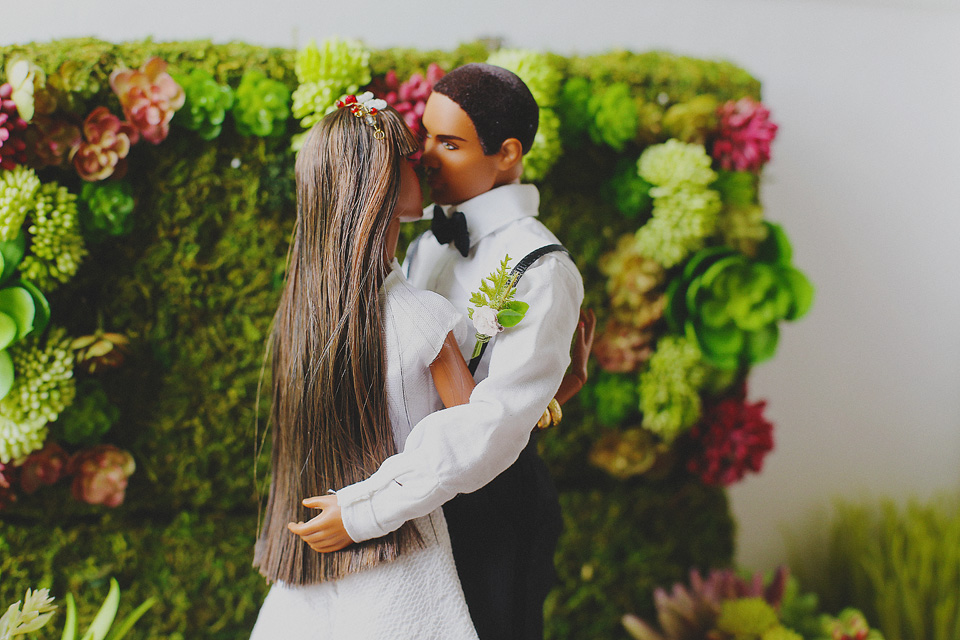
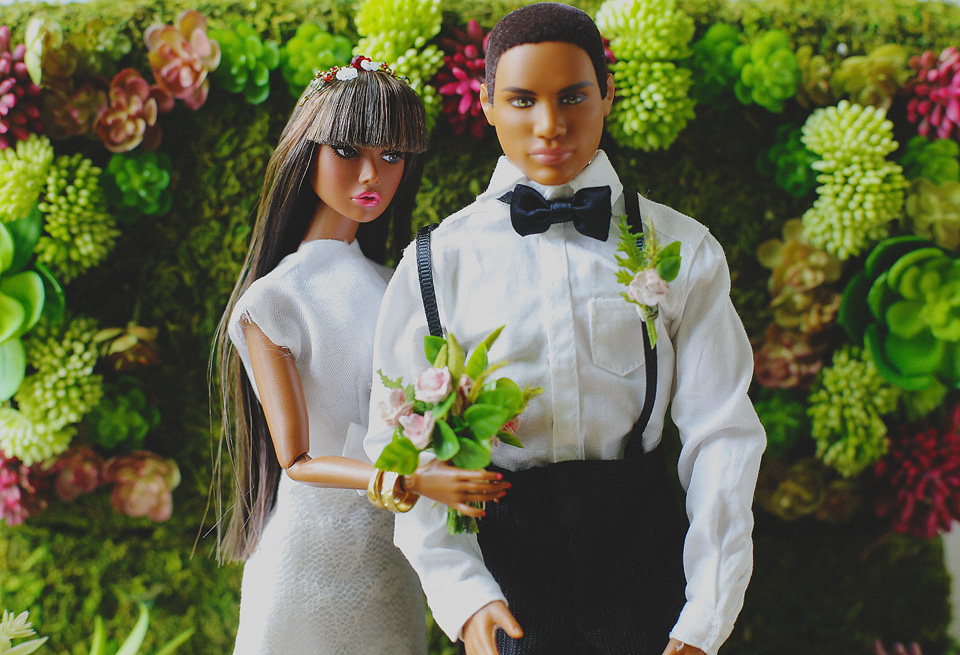
This wedding series is so good, you will forget they are dolls

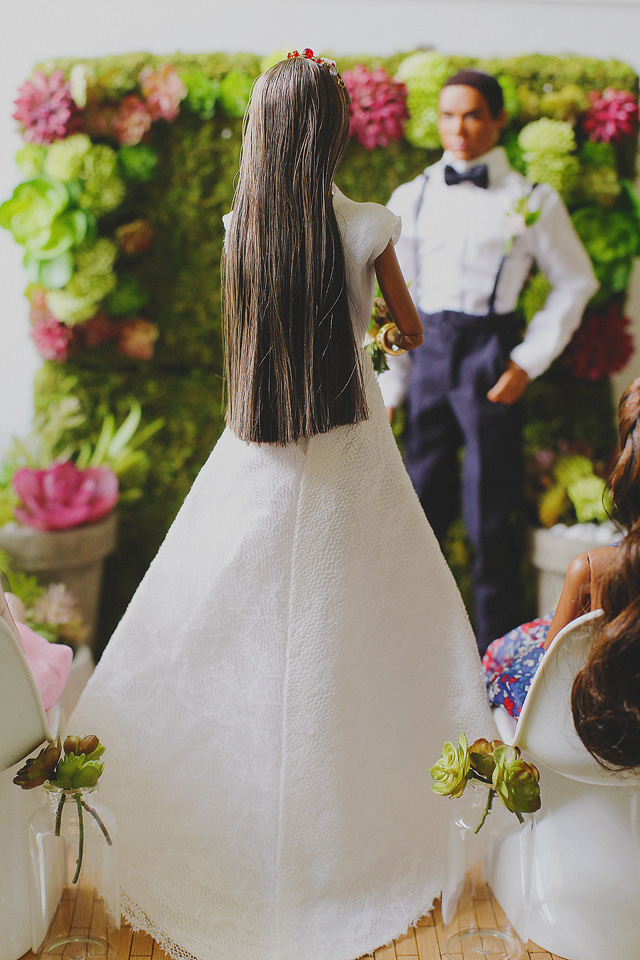
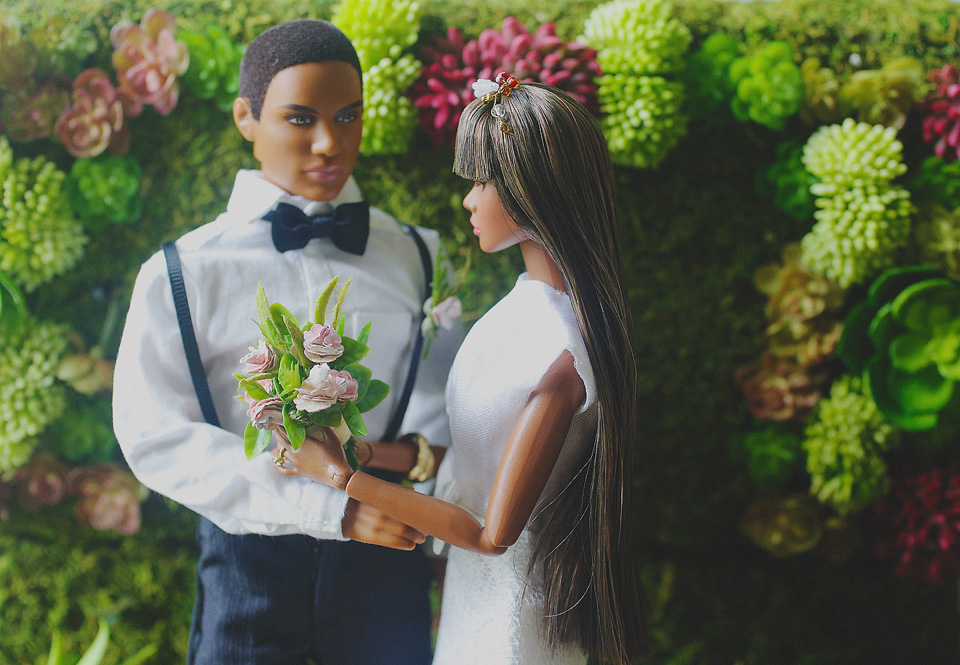
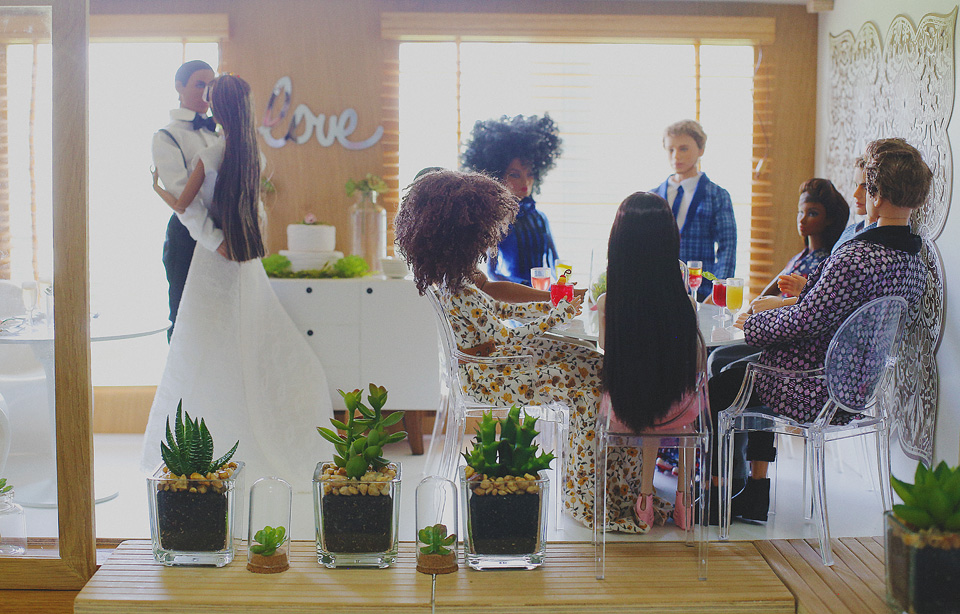
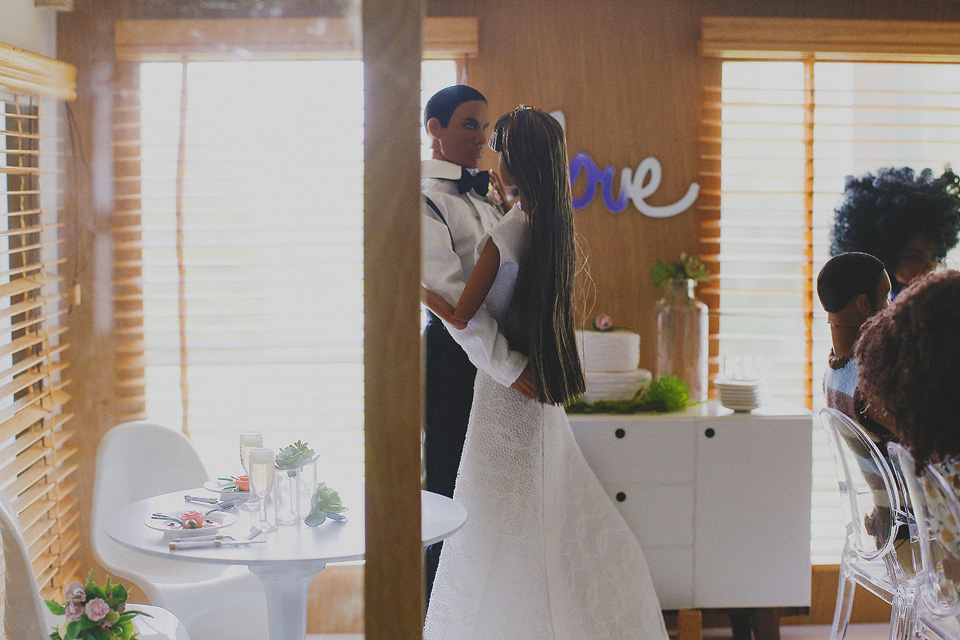
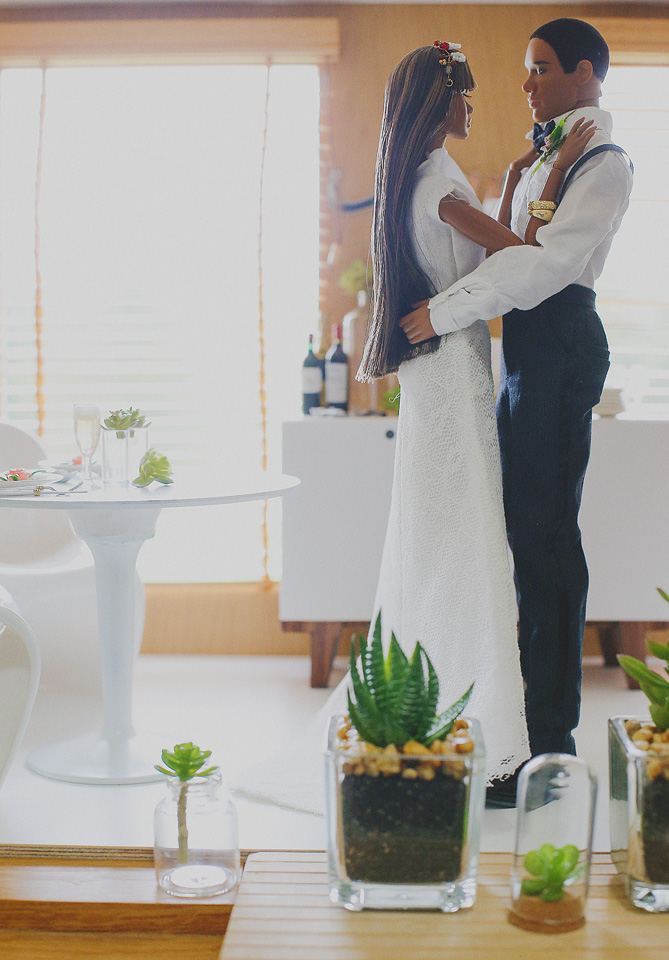
Nesha Kaye produced one of the finest photo series I've seen portraying a wedding. From the engagement photos all the way to the reception - it was impeccable. 

Her attention to detail is second to none, as many of you know. (Nesha has developed quite the following on her Instagram and Flickr) I just couldn't resist asking her about it and bringing you a sample of some of the shots. 

S: Ok, I just HAVE to know what inspired this?

N: Last holiday season, I decided to do a series of romantic, photo stories for a few of my dolls on Instagram.  The climax to the series of stories, were my favorite doll couple-Harmony and Jackson getting engaged on Christmas Eve. To be honest I thought the story would be finished but I kept being asked about the wedding so after much back and forth, I caved in and set the date for May 15, 2016 (my 18
th wedding anniversary).

S: I've seen many people do the whole wedding series before, but never as clean and real as yours. How did you decide on the theme?

N: I wanted the wedding to be as realistic as possible so I started with engagement photos, followed by the bride and groom getting dressed, and formal wedding portraits. The wedding itself was by far the hardest part but after searching through Pinterest for inspiration and consulting back and forth with my Mom, I was able to create my version of an Idyllic Floral Wedding.

S: Where did you find all the accessories and decorations?

N: Amy Sprouse of “TinyRibbonThings” on Etsy created the bouquet, boutonniere, and wedding cake from a Pinterest design and I made or sourced all the floral arrangements and decorations. For the reception I wanted simple elegance and a softer, more romantic feel so I kept all the décor and furniture to a minimum. To keep it fun and light, I used quotes for each image. Everything was shot in 1:6 scale, using various room boxes and furnishings from my personal collection.

S: This was a ton of work! How many images is the complete project and is there a chance you'll do it again?

N: The pre-wedding, wedding, formal portraits and reception took me 6 weeks to create and 80 images to bring to life.  I’m really happy with the result and look forward to creating another wedding sometime next year.

S: Nesha, thanks so much for sharing your work with STAND. I can't wait to see what you do next!

You can see some of her work featured in Volume 2 of the STAND Lookbook coming July 5th. Until then, see the entire shoot and all of her work on her social media sites:

Facebook
Flickr
Instagram

Lashing Out Loud - Replacing those pesky eyelashes the easy way

Laurie Lenz, one of the jaw dropping repaint talents in the group The Repaint Society, has provided us with us awesome tutorial on eyelashes. 

I know that the majority of my ladies get crushed or missing eyelashes at one point or another - the downside to actually playing with my toys. Thankfully, it's not that hard to replace them and here's how:

What you need:

*Eyelashes...preferably a strip without glue on it. (Dollmore, or Volks sell them.)

*Aleene's Quik Dry Tacky Glue
(I recommend the Quik Dry, or you'll be waiting for FOREVER.)
(Never EVER EVER use Crazy Glue! It's from the devil.)

*Angled tweezers

*Angled scissors (that little piece of yarn is there to warn my family--"touch & die.")

*Toothpicks

*Damp Cotton Swab (not pictured.)


Hold your eyelash strip up to the doll's eye to get a rough estimate of how much you'll need.

Cut the section off the strip and gently roll your lash around a pencil to give it some curl.

Take the Quik Dry Tacky Glue and apply it to a toothpick.

(This is a water based glue.  If you ever want to remove the lashes, just wet a Qtip and dab on the lashes and they will come off. Never use any glue but a water based glue. )

Dot dot dot the glue from her tear duct to the center of her eye. (Do not go past the center.)

Apply tacky glue to half of the eyelash.

See that Q-tip? I always have a damp one there just in case I get some glue on my doll

so I can quickly wipe it off.

Allow to sit for a few seconds and then with your angled tweezers, place the lash against the eyelid -glue to glue.

With a clean toothpick, gently press the lash into place.

Go make a sandwich, waste time on Facebook, place a bid on a doll, or move your wash to the dryer, and allow the glue to dry.

Once the glue has set, press the eyelash down, so you can judge where it needs to end.

Pull the lash up gently, and cut to fit.

Pull the lash back and run a bead of glue on her upper lid, 

and run a bead of glue on the back of her eyelash.

With the clean toothpick, press down and position.

Allow the spider lady's eyes to dry.

Once they are dry, take your angled scissors and trim the lashes.

From ordinary to extraordinary. Love those lashes, Daphne!
Special thanks to Laurie Lenz for this tutorial. She the original below and check out all her other amazing work - seriously, check it out! 

http://etsylaurielenzangels.blogspot.com/2014/07/lashing-out-eyelash-tutorial.html

Modifying Heads For Hybrid Dolls - An Easy Solution

writer//Amy Namsiriwan

Iplehouse makes really beautiful dolls, but if you're like me and have need specific physiques for specific dolls, then you may want to hybrid their heads onto other bodies. However, Iplehouse dolls have large necks compared to the vast majority of bjds out there so there are very few, if any, bodies out there that that Iplehouse heads fit on without some sort of modification.

This is actually quite easy to do! Of course the method works for other hybridizations where the head hole is bigger than the neck.

You just need some clay, plastic wrap and an xacto knife or some other similar tool for shaping.

First cut 2 pieces of plastic wrap, one to cover the neck stump, one to fit in the head's neck hole:

Then take the clay, ball it up and then mold it into the neck hole:

Now take the head with the clay in it and press it down on the plastic covered neck until the head looks like it's sitting the way you want it to. At this point, the clay will have squished out some and you may need to trim around the edges:

You'll see inside the head, when you pressed the clay, that the hole for the S-hook leaves a shape in the the piece:

That shape serves as a guide to show you where you need to cut the hole for the S-hook. Make sure to leave ample room. Carving the hole too big is generally not an issue, but if you make it too small then you'll have to carve hard clay out if your S-hook doesn't fit:

While cutting the hole out, the piece may have deformed some, so fit the piece in between the head and neck again to make sure that the shape is right. At this point you can smooth it out as much as you wish as well. The only part that will be showing is the lip of the underside of the piece, so it's not really necessary to make it all that pretty, but if you're a real stickler for details, even ones that can't be seen, knock yourself out!

Now you just let the clay dry, or boil or bake the clay, depending on what kind of clay you used. Sand or finish it any way you like if you wish. You can either use the clay piece itself, or if you like, you could get a small kit and cast the piece in resin. The clay seems to work just fine though. You can paint the lip that shows to match the doll's skin if you wish, but I find that mine isn't really seen much in pictures.

Even hardened clay is usually somewhat soft and still carvable with carving tools, so even if you find that your new piece needs some adjusting after it you thought it was finished, it can still be changed. Either carved out, or you could use a hot glue gun to add on, which I like to do since I trust the hot glue as sueding against the resin. Clay seems to hold pretty well against resin, but i still like glue.

The end!

Hope this helps some people!

Sorry for the rough example, but I'm doing this quickly and I'm not actually making a new piece for use since I already have one so I'm not going to take the time to make a fully finished smoothed out piece.

For other tutorials, visit Dirili's homepage: HERE 

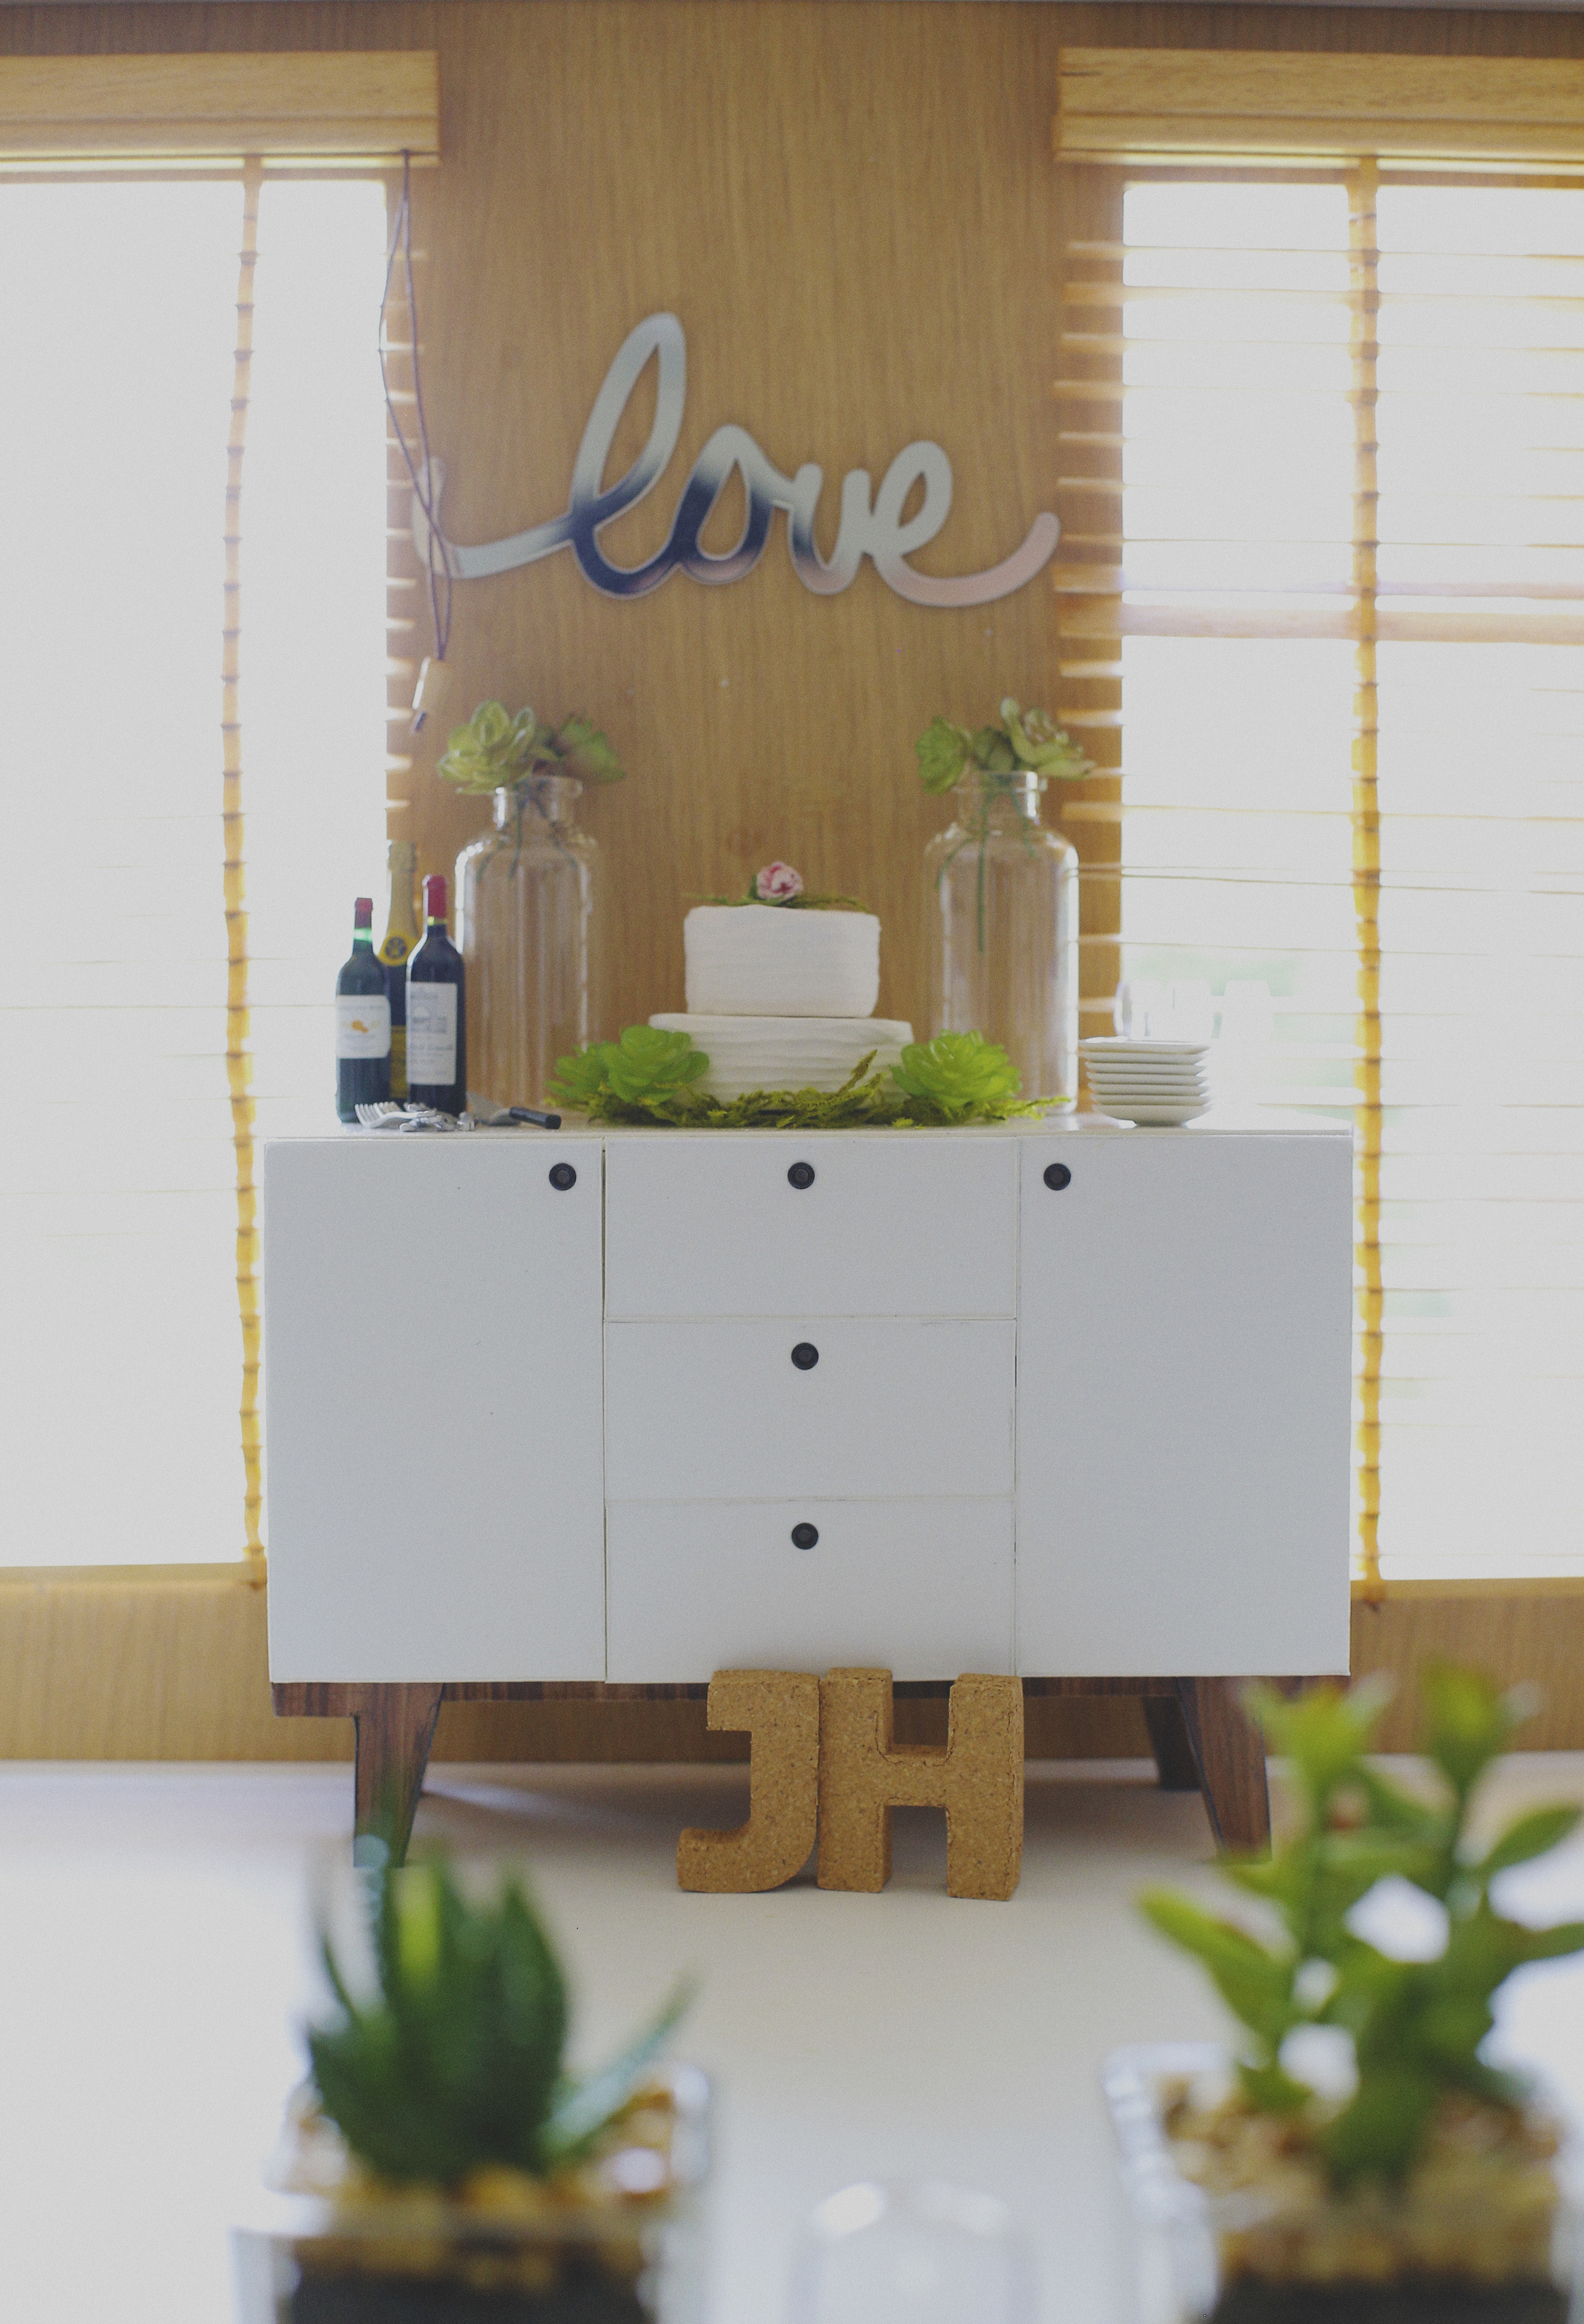
Turn your boring pieces of furniture into vintage shabby chic awesome

I simply adore anything that has character, so when I saw this tutorial by Unniedolls I knew I had to share it! 

Not only is it super easy but it looks fantastic. Think of all those bare wood items at Michaels that you could spruce up - oh, and don't forget to download their app too to save extra $$$ ;)
Be sure to check out Unniedolls here:
♥ Webpage/blog: http://unniedolls.com
♥ Etsy Shop: http://unniedolls.etsy.com

Making a custom wig - Not as hard as I imagined

I found this fantastic tutorial today and was mesmerized watching her. I'm sharing part 2 which is about placing the hair on the wig, I think making the cap is probably fairly simple and I'll leave it to you to go to her site and watch that one.  I really just wanted you all to see that it isn't as hard as you might think to make your own.

Of course, I probably never will as I'd prefer to pay someone else to do it, lol...BUT if I got crafty (though my crafting skills are really limited) I actually think I could pull this off. So who knows, maybe I'll get industrious one day and give it a shot ;)
Give this a watch and check out Unniedolls website for more. She does some fantastic mods and repaints.

REVEAL - the May Lookbook - Fashion Doll cover

Each issue of the STAND Lookbook will feature two variant covers. A bjd cover and a fashion doll cover. If you purchase a physical copy for your collection you will have the option of choosing whichever cover you'd prefer. 

The fashion doll cover of our first issue is by Dollcis. For those unfamiliar with Paul Pham and his Numina ladies, I highly recommend you take a peak!

Thanks so much Paul for contributing this image! If you'd like the chance to see your work featured on the cover of an upcoming issue click the CONTACT link at the top of the page to learn how. 

Restringing tutorial - bjd or fashion bjd, it must be done occasionally - here's how

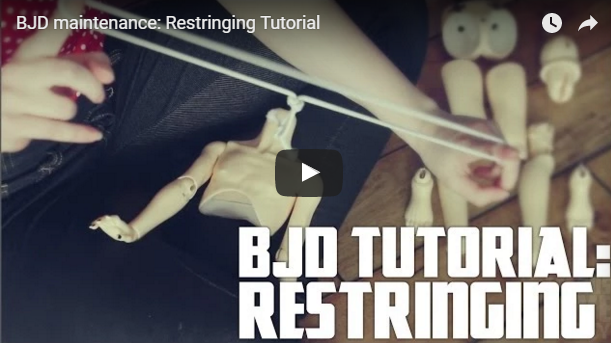
Icarus Love Melody does a fantastic job of showing us how to restring. Many of us have dolls that get kicky (too tight) or floppy and lazy (too loose) - and Lord knows, I'm the only lazy bitch allowed around here!  
This looks way more simple that I thought it was. Maybe a few of my dolls will get tightened up a bit now.  

Hmm, can someone please come pull my strings and tighten me back up too? ;)

Restringing is always a daunting task in the beginning, I had friends walk me through it when my first doll required some upkeep and now I hope I can help you~ This is a quick and simple run down of how to restring a BJD; some dolls have different internal structures so this system won't work for everyone but will give at least the basics for those who want to give it a try.

Glue Anything Together - check out this handy chart!

Want to bond wood to glass? Styrofoam to rubber? Here's the answer.

Feature photo by Hep Svadja. Chart design by James Burke.

Source: http://makezine.com/2016/03/25/dont-glue-a...